

As mentioned in part 1, making sure a house is as airtight as possible is crucial for energy efficiency.
Most of the gaps that produce air infiltrations are so tiny that they may not even be visible to the naked eye, and even those that can be seen are usually hidden by the finishings of the house (the siding on the exterior walls and the dry walling and ceilings inside). Yet these gaps continue to have a huge impact long after the house is finished. The air that is heated in winter or cooled in summer is constantly escaping and in terms of comfort and budget this has a BIG impact
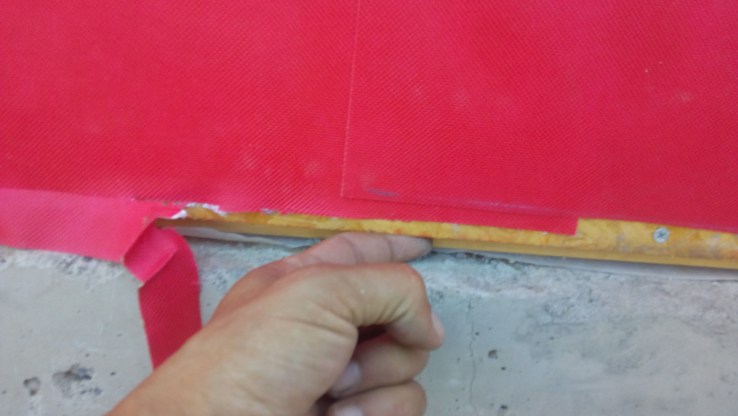
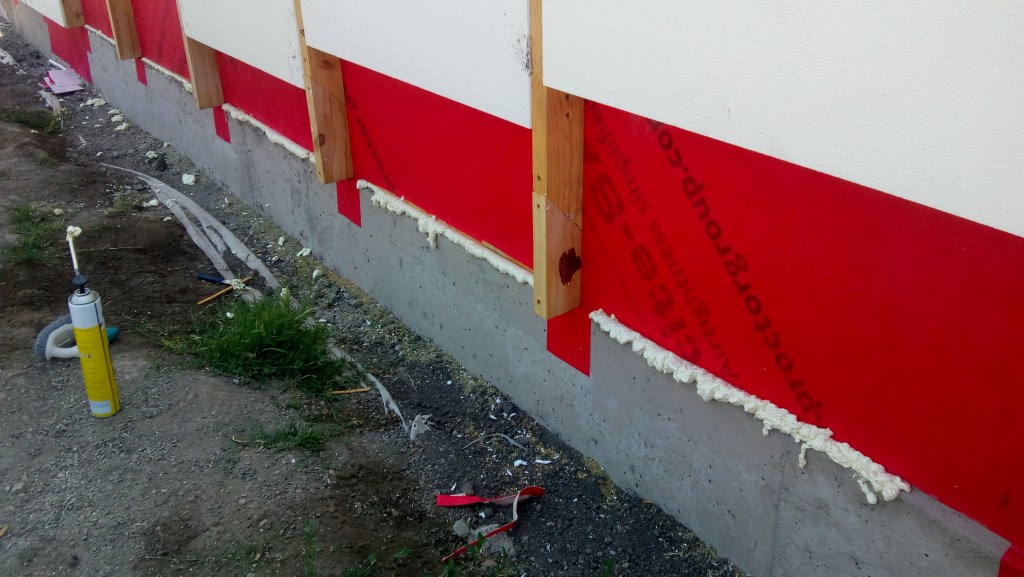
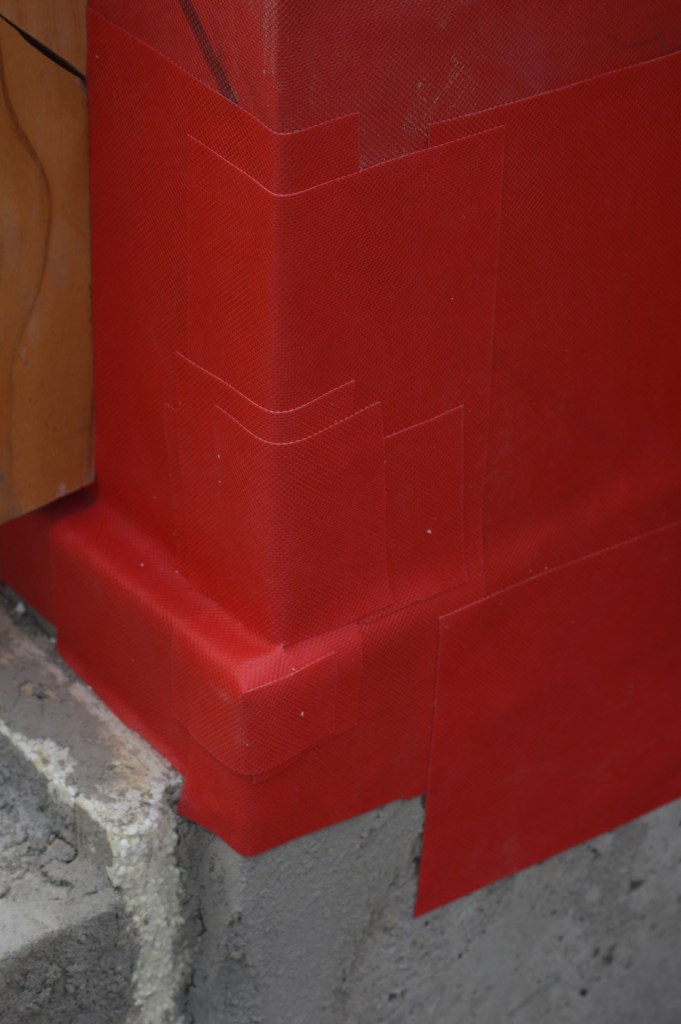
With the windows in, we could finally finish installing the membrane in some of the most important areas where air infiltrations typically occur:
- Joinings of the panels to the concrete slab

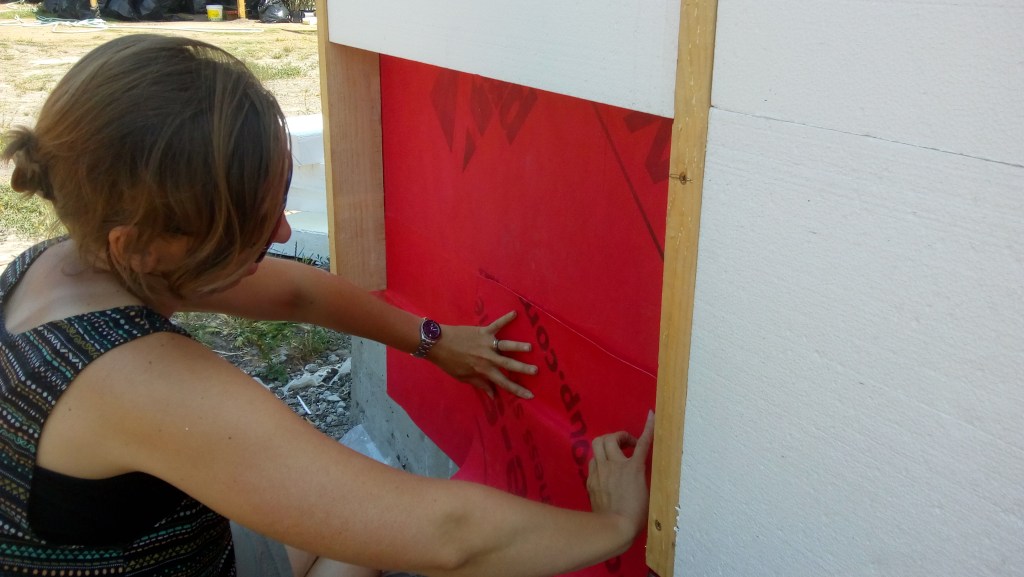
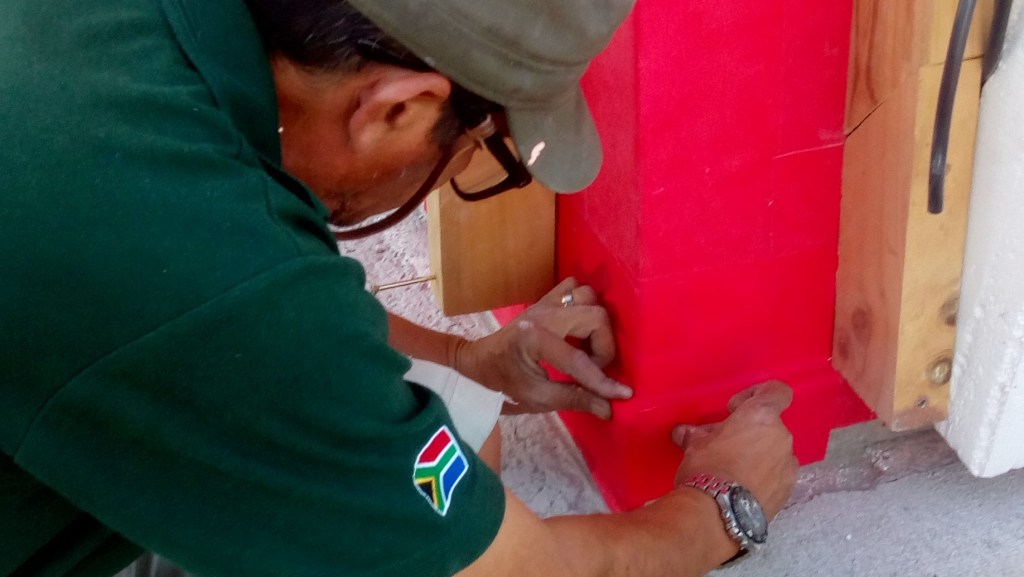
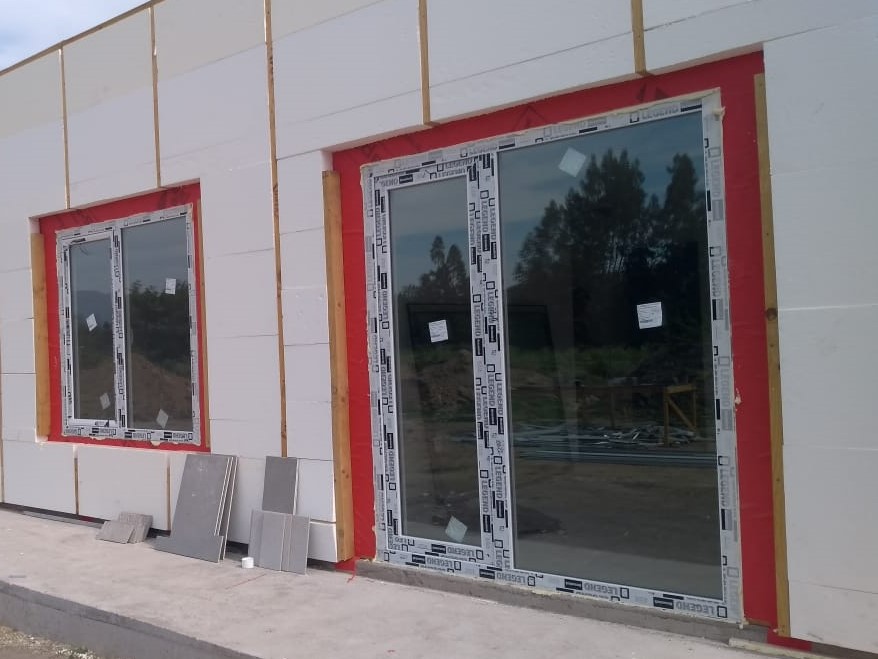
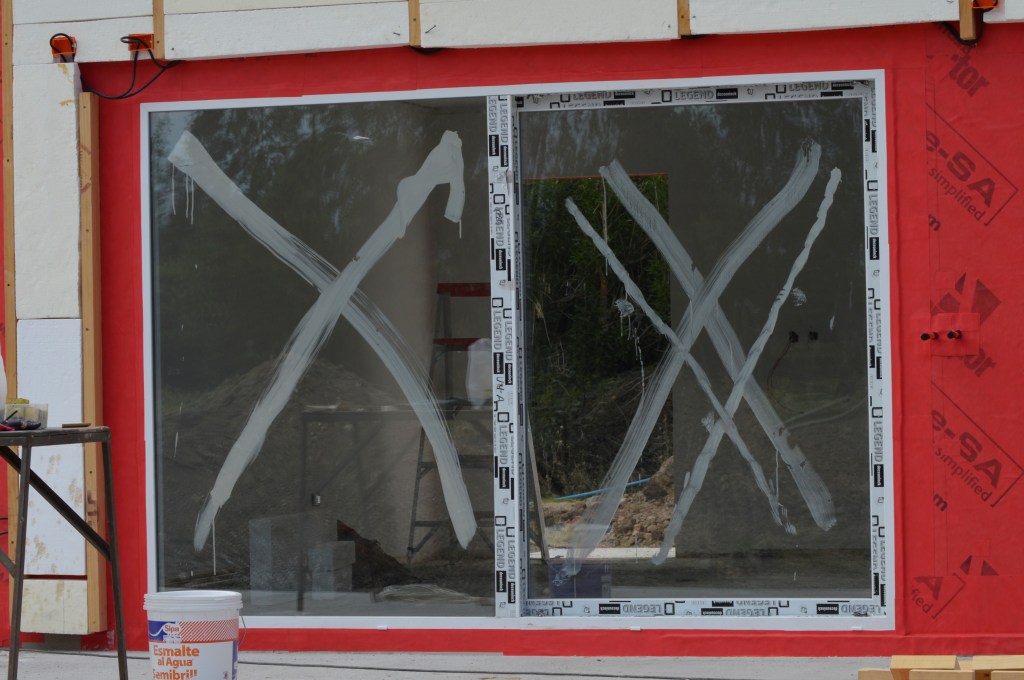
2. Joinings of the windows and the panels
The next part where there are inevitably quite big gaps is the joinings between the panels and the window frames. I discovered that these gaps are quite normal and actually needed in a house as the thermal properties of the different materials (wood and PVC) cause them to expand and contract at different temperatures, so they need to have a bit of room to move.
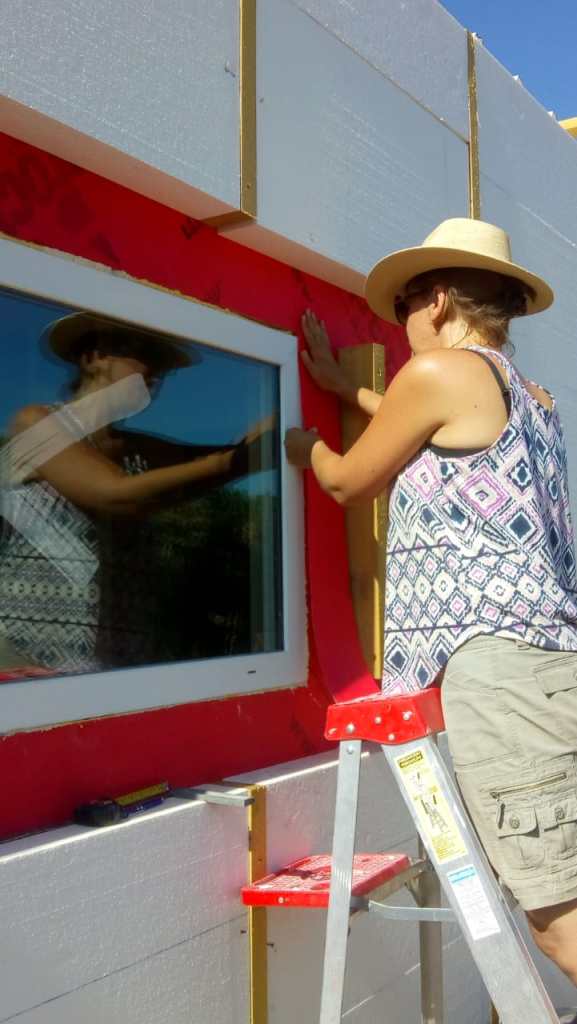
The airtight membrane has become a bit of an obsession for Rodrigo and I, since he started researching it last year, to importing it from Procter in Scotland and to installing it on the entire house. I was actually surprised at how easy it was to apply the membrane. No building skills needed, just attention to detail. I have now become known as the “membrane queen” amongst our building team as I basically installed most of the finishing touches. It has definitely been a labour of love, but will be so well worth it in the end.
We will see the results when we do the blower door test. Results of this test coming soon in the next post…
